

How To Repair 18-gauge Vinyl Innertube
This commodity will hash out the patching of bicycle inner tubes. Both pre-glued patches and the vulcanizing patches will be reviewed.
i
Locating the Hole
What do I need to know how to practise?
- Wheel Removal and Installation - View Article
- Tire and Tube Removal and Installation - View Commodity
What Tools do I need?
- Patch kit such equally the GP-2, VP-1
- Tire kick such every bit the TB-2 for temporary repair of damaged tires
- Pump: either a floor or manus pump. An air compressor with correct fittings (such as the INF-2) can as well exist used.
- Useful items: marking pen, rags, alcohol solvent
To fix a flat, beginning locate the pigsty in the inner tube. If possible, re-inflate inner tube to at to the lowest degree twice its normal width.
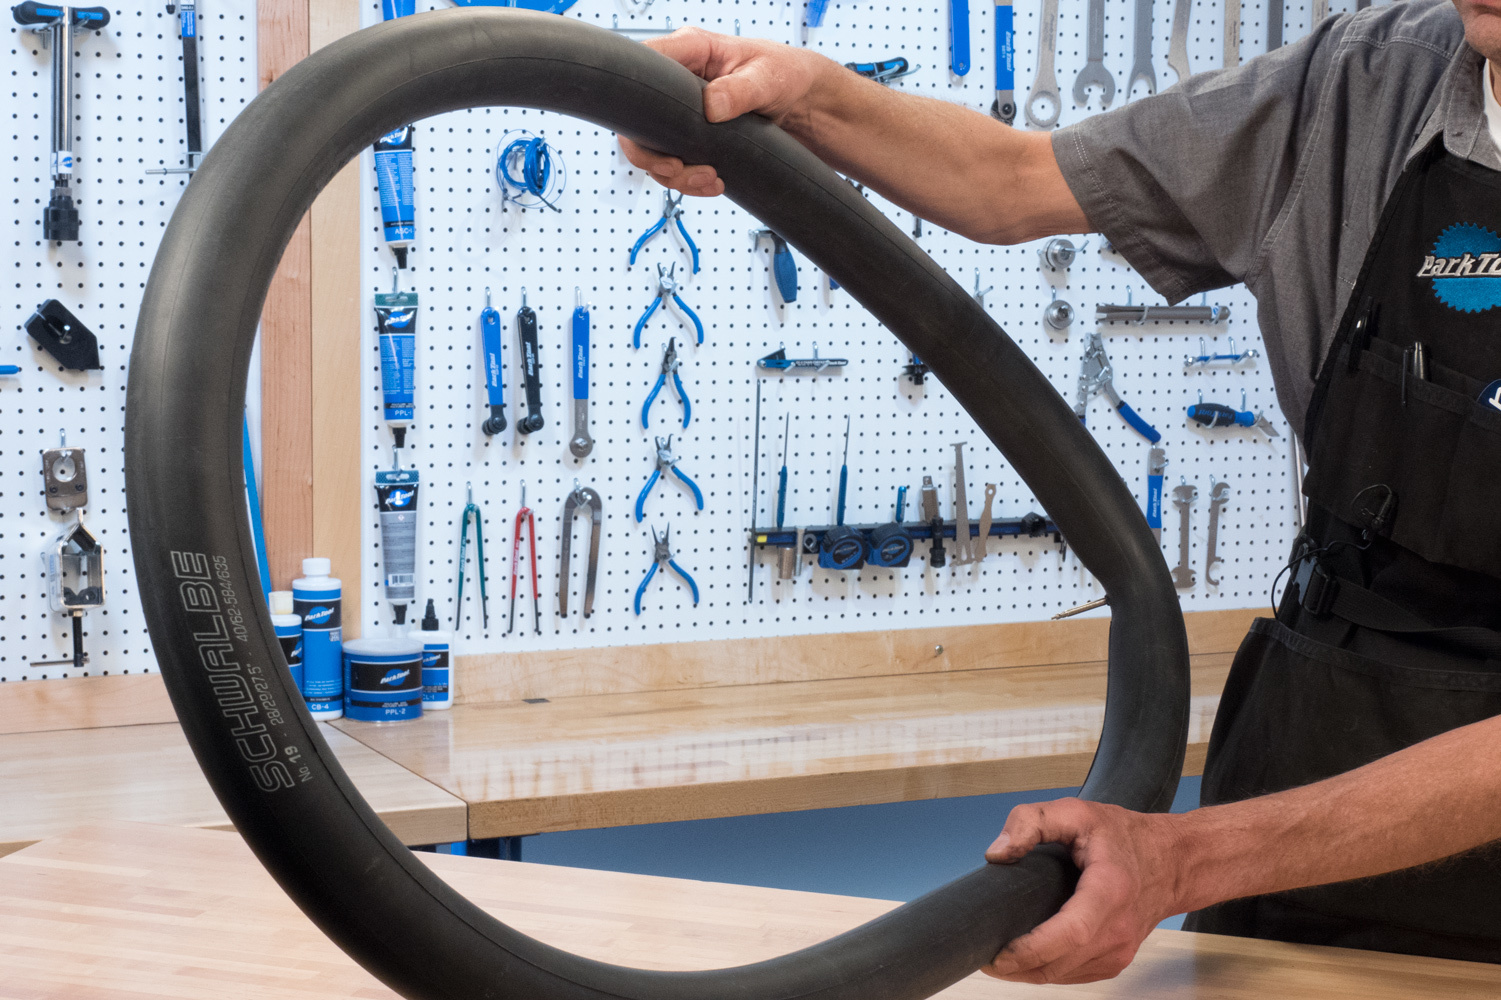
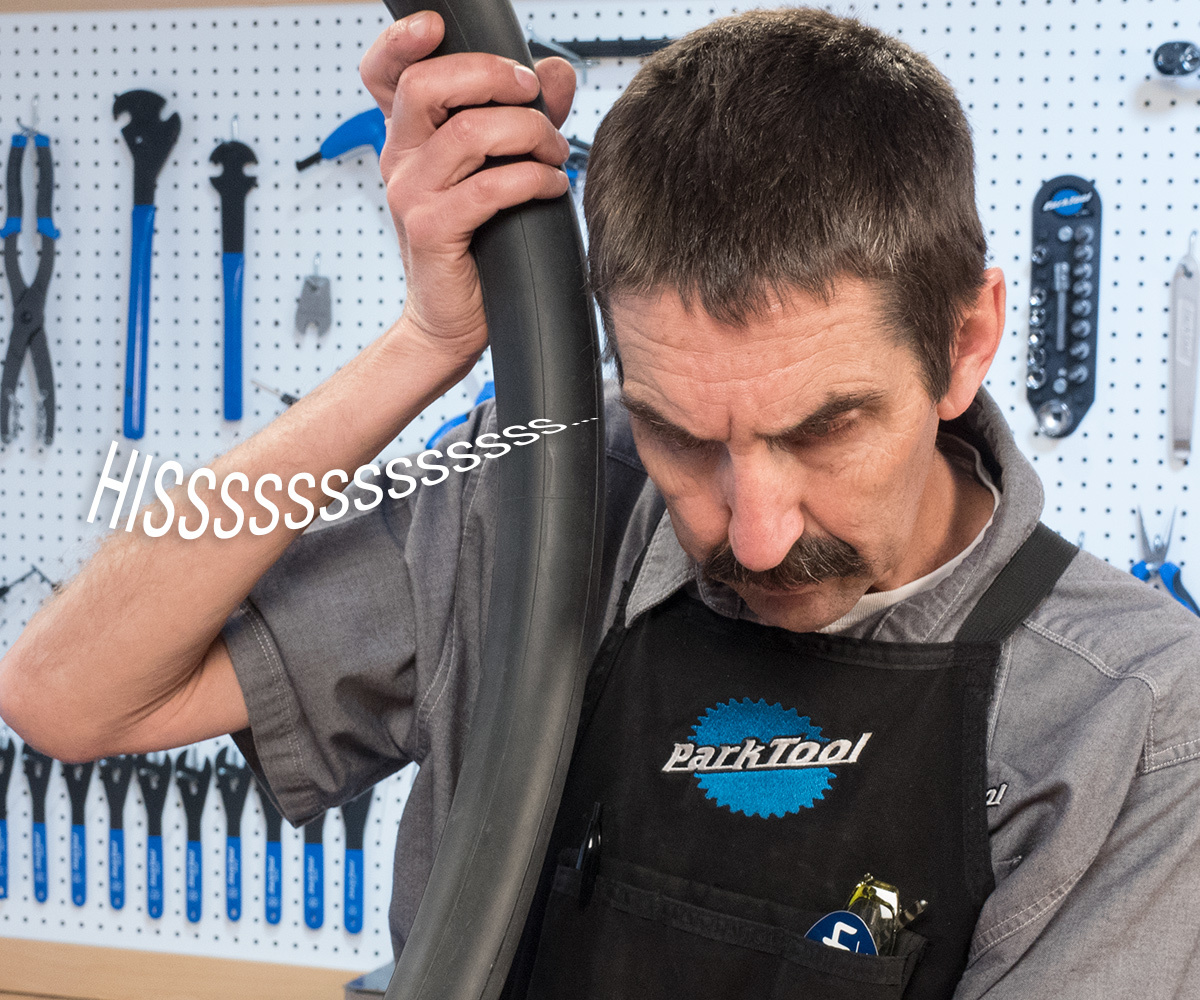
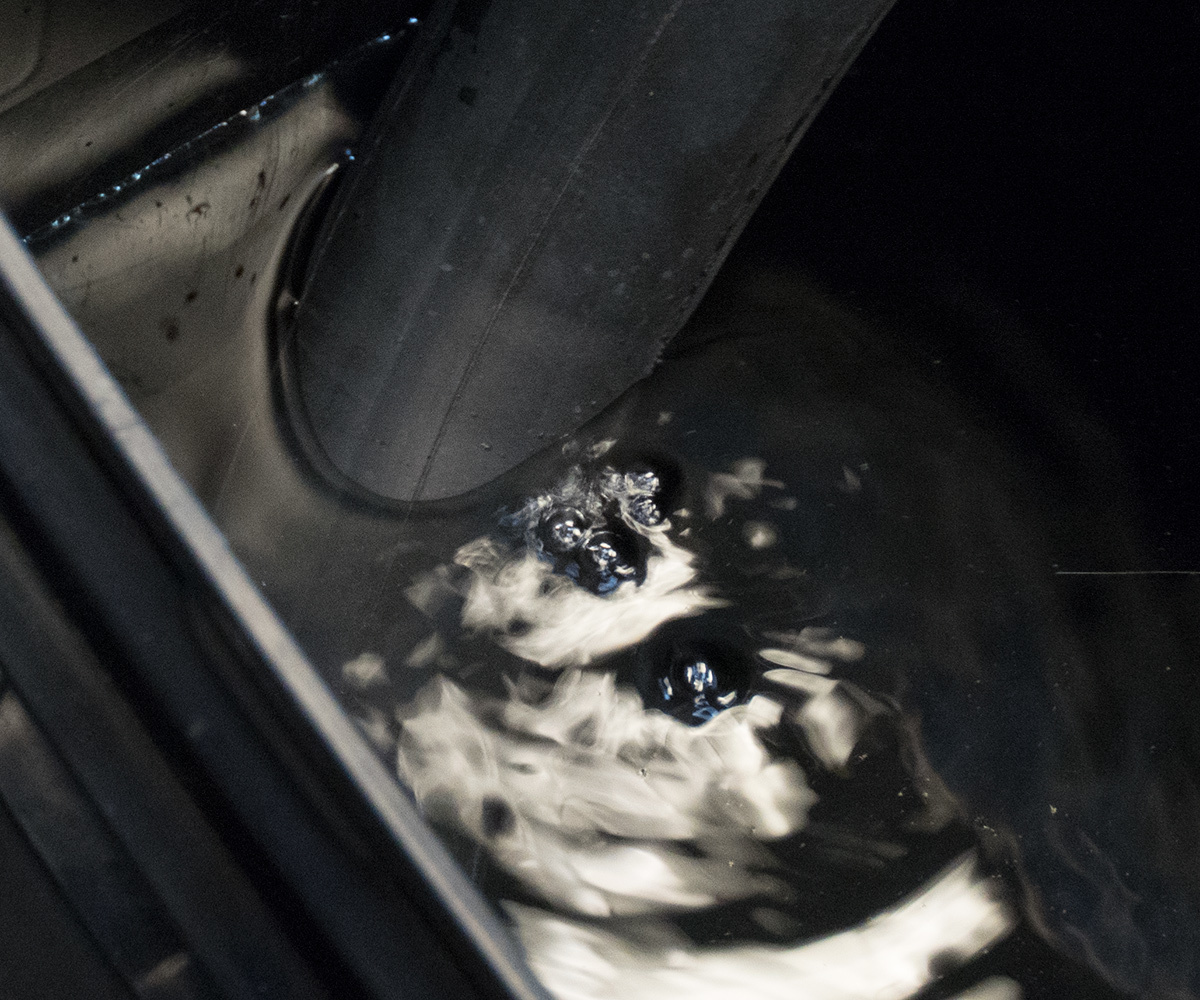
Inspect for air leaks by holding tube close to the sensitive skin of lips or by holding tube near your ear to hear leaks. Movement the tube around its circumference. If these steps exercise not work, submerge tube in water and watch for bubbling at the hole.
2
Preliminary steps
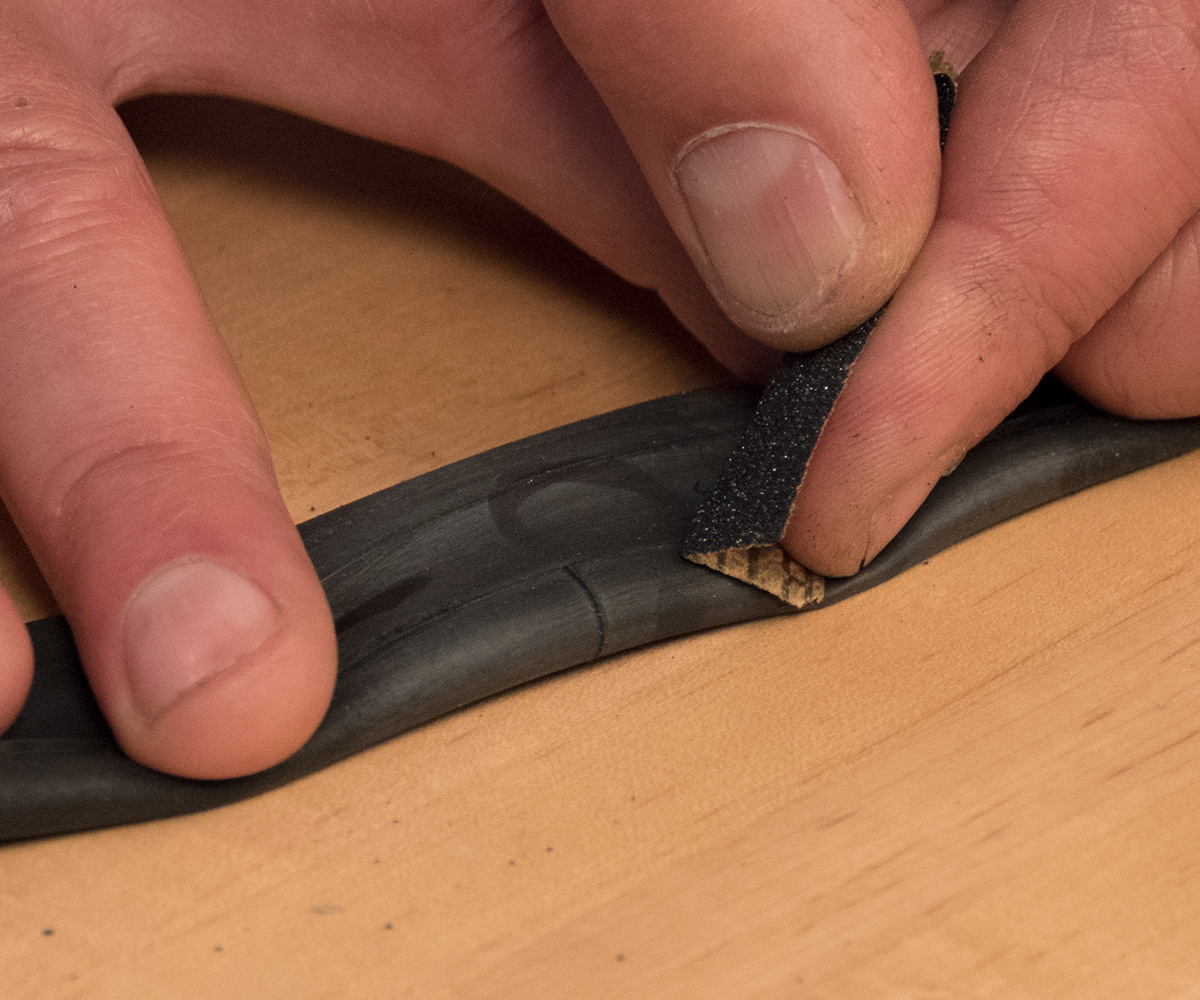
Once you have found the pigsty, utilise a marking pen to marking it. Make four marks, one to each side of pigsty. Do non mark close to hole, as the marking may be sanded off.
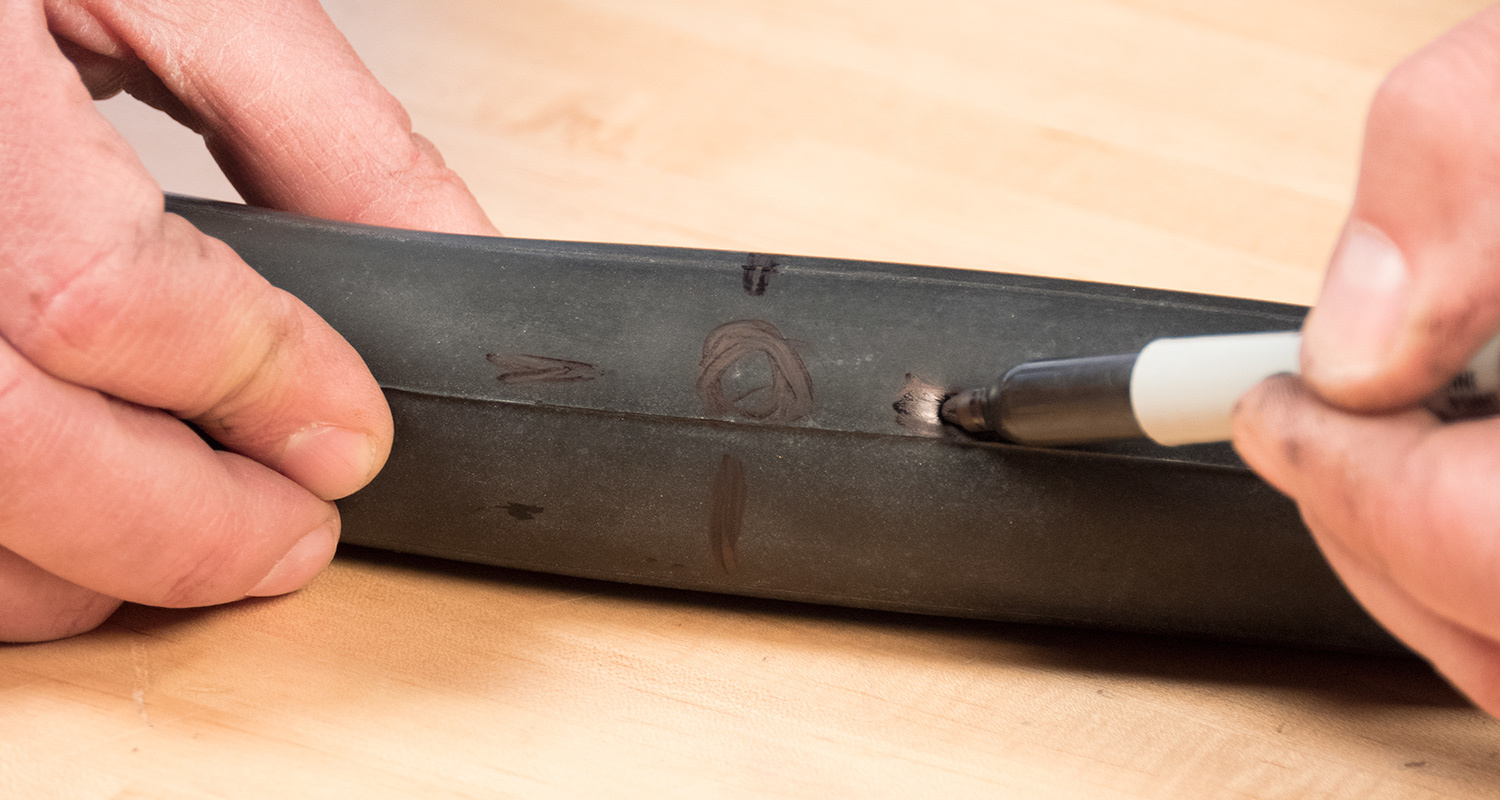
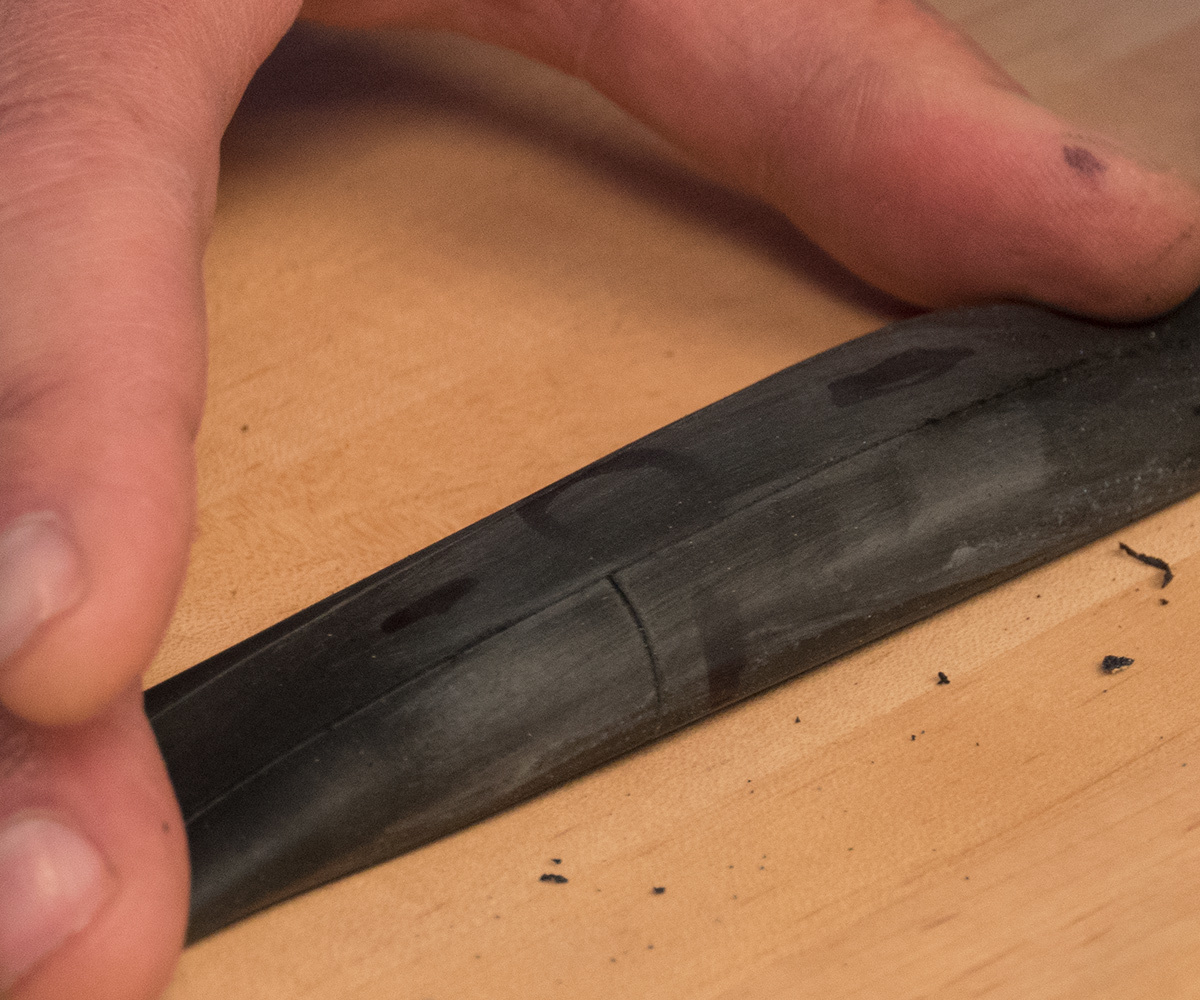
To prepare the tube for patching, clean the tube by lightly abrading area around hole. Most patch kits include a small piece of sandpaper, but a separate piece of sandpaper or fine emery material is likewise acceptable. Excessive sanding or heavy pressure can cause grooves in the rubber, which may atomic number 82 to patch failure.
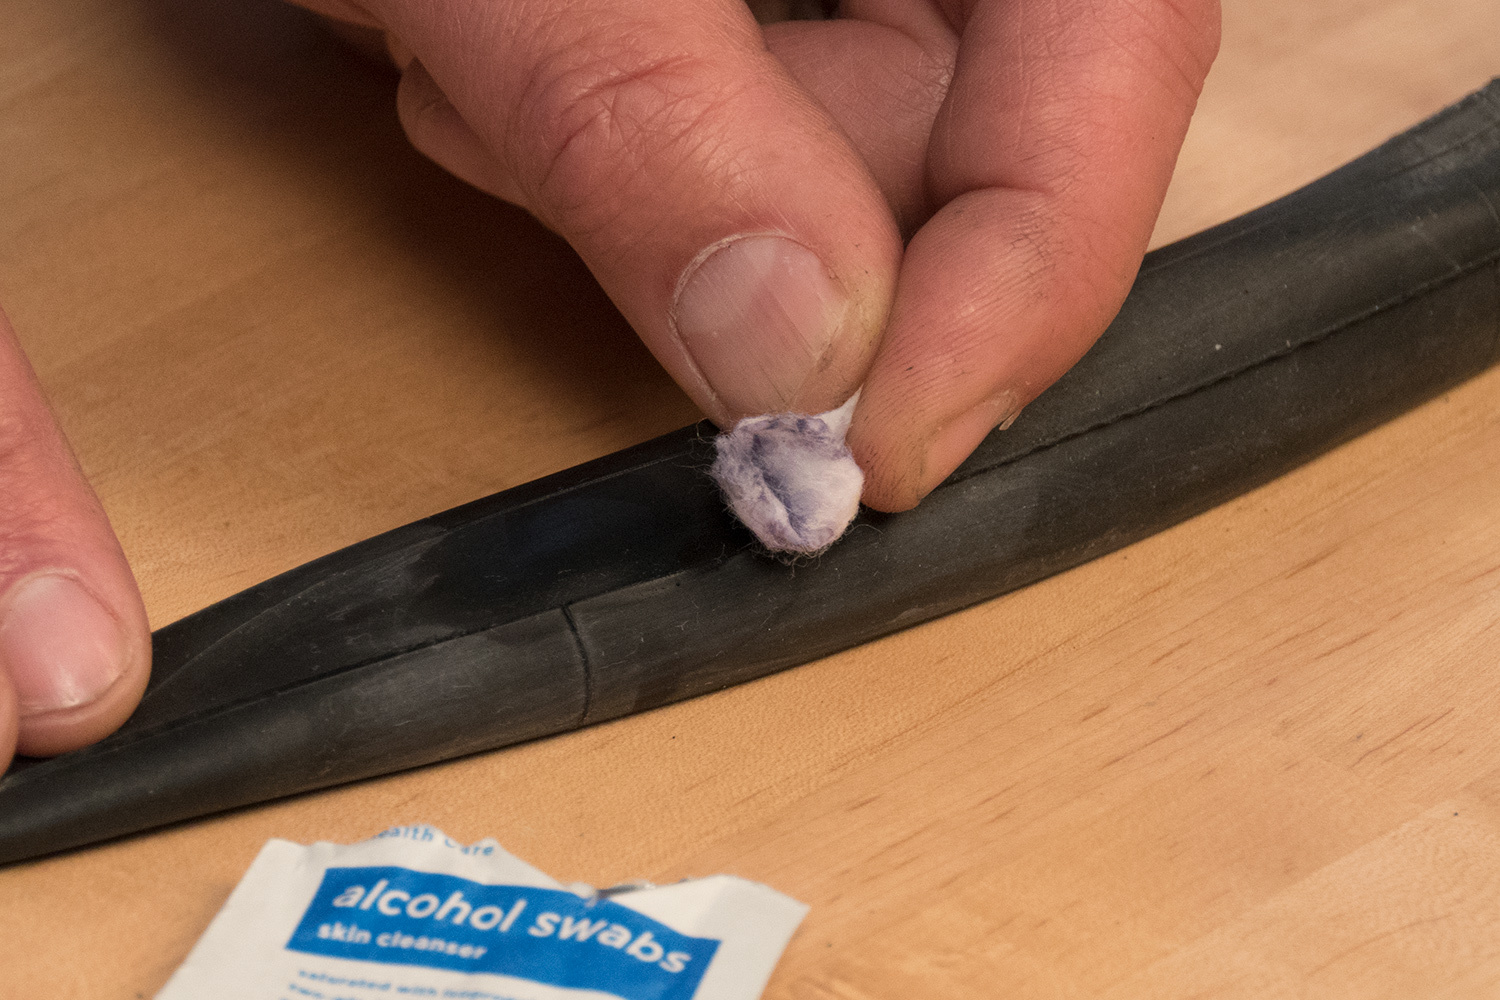
If possible, make clean the area using a clean rag and alcohol, or whatever solvent that doesn't leave a film. Allow the area to dry completely.
3
Patching an Inner Tube Using the GP-2 Super Patch Kit
The GP-2 Super Patch Kit uses pre-glued patches. There is no tube of glue.
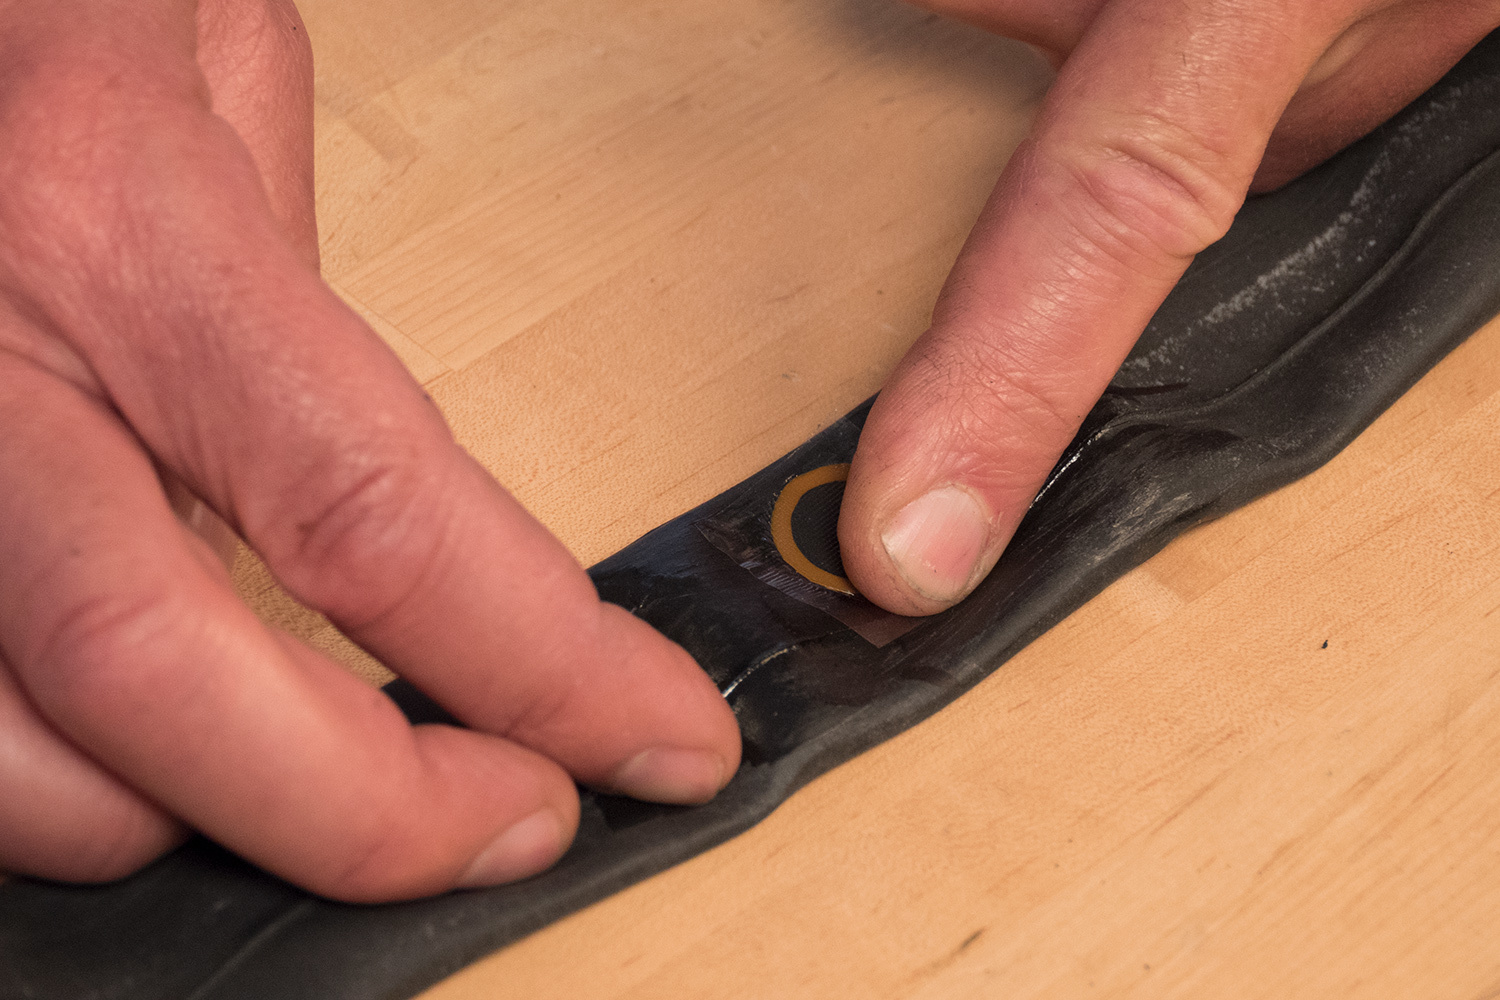
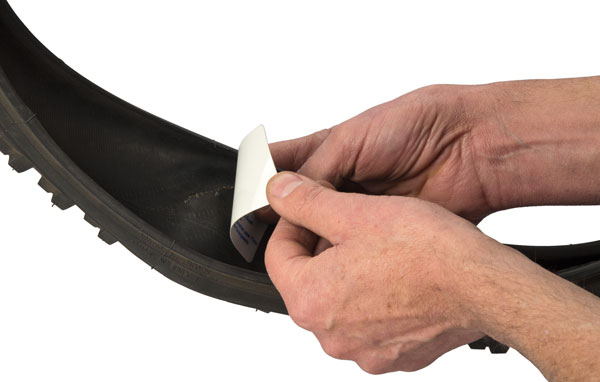
- Pare patch from patch backing. Handle patch every bit little every bit possible and by edges but.
- Center patch to hole and lay patch on tube.
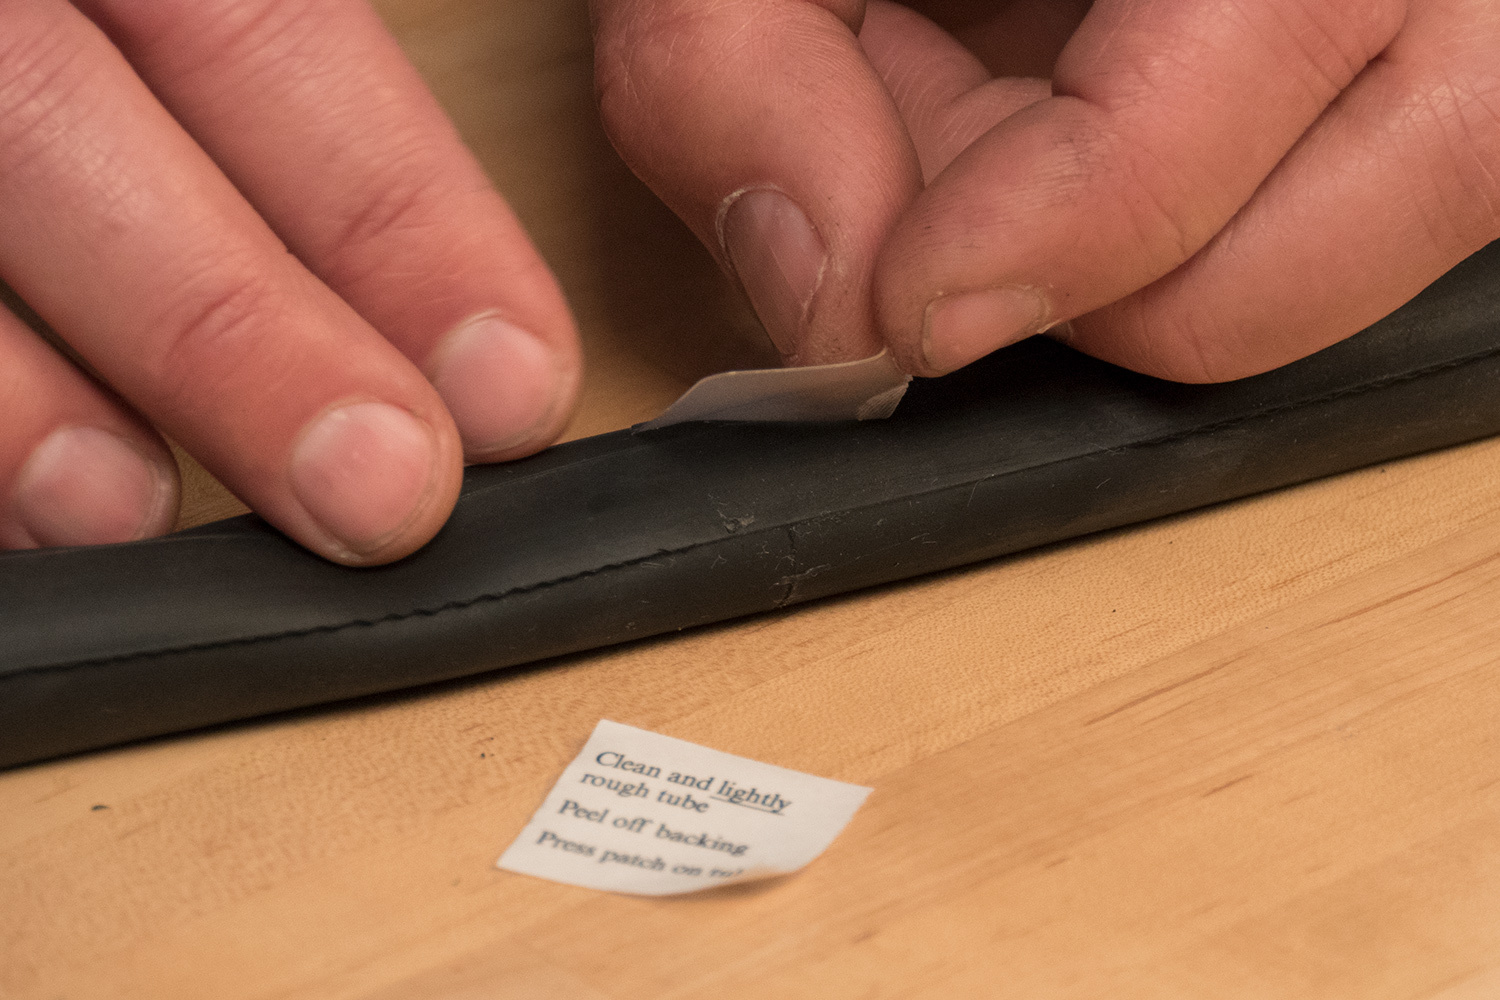
- Employ pressure to patch to assure seal. Curlicue patch and tube between thumbs and forefingers.
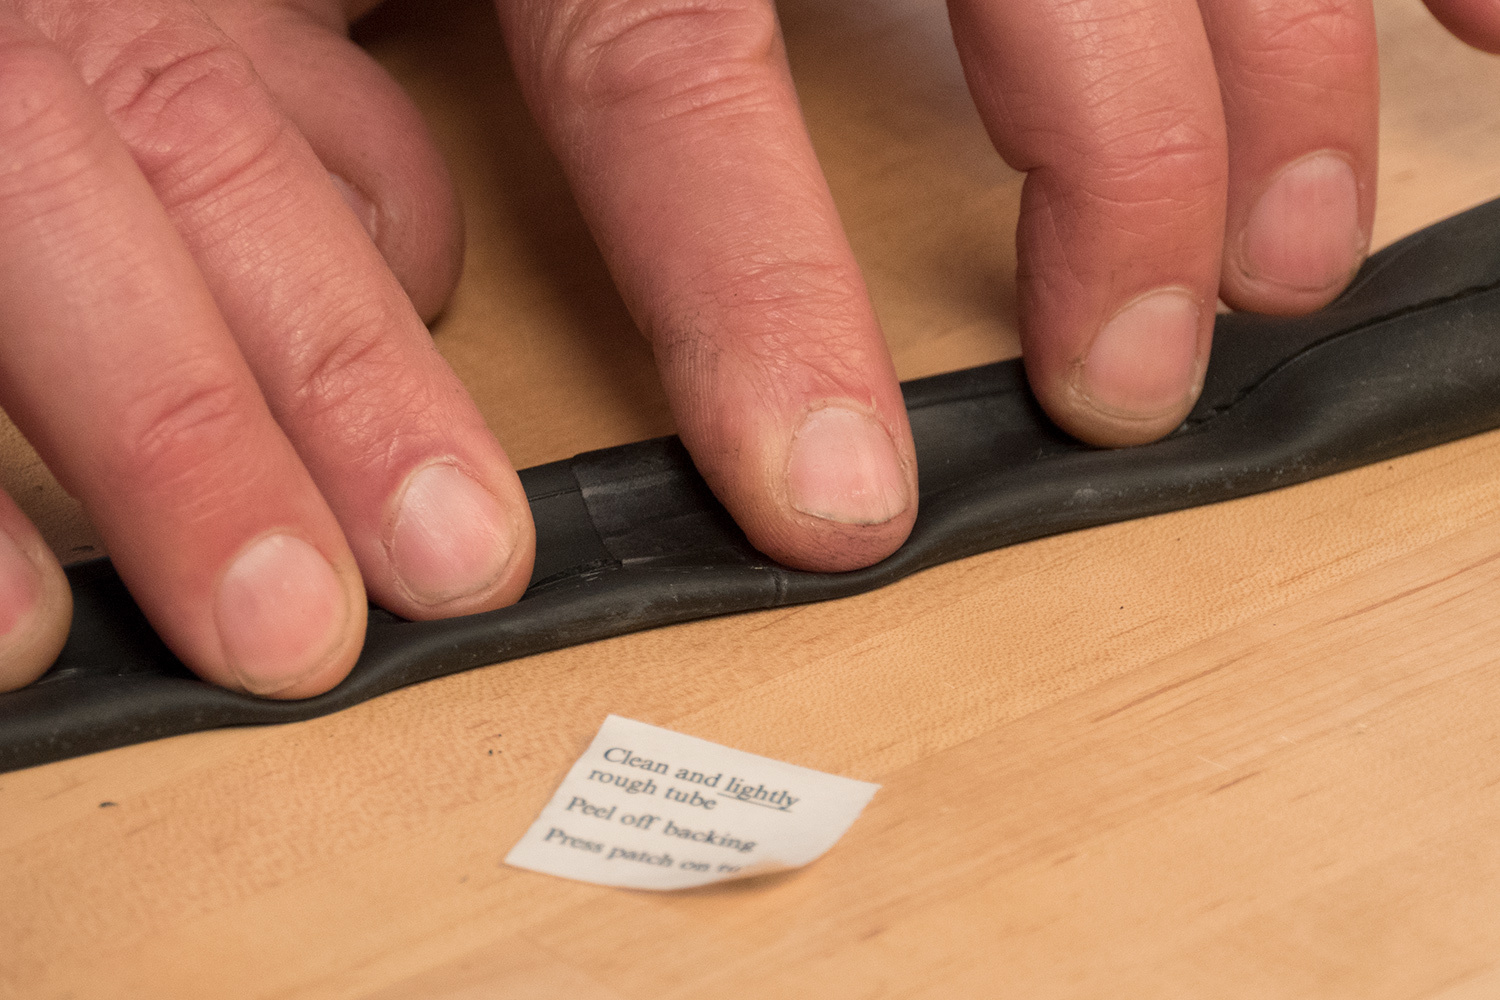
- Tube is ready to install. Practice Not test patch by inflating tube while outside of mounted tire. This may stretch tube body and weaken patch bail.
4
Patching an Inner Tube Using the VP-one Vulcanizing Patch Kit
Gum type patches such as the VP-i Vulcanizing Patch Kit require the application of a thin layer of self-vulcanizing mucilage on the tube earlier the patch is applied.
- Open glue tube and puncture seal. Utilize thin glaze of glue and spread evenly around hole expanse. Spread area of glue larger than patch size. Use a clean finger or dorsum of patch to spread glue evenly in a sparse layer. Exercise not apply too much glue. Mucilage layer should not appear "glopped" on.
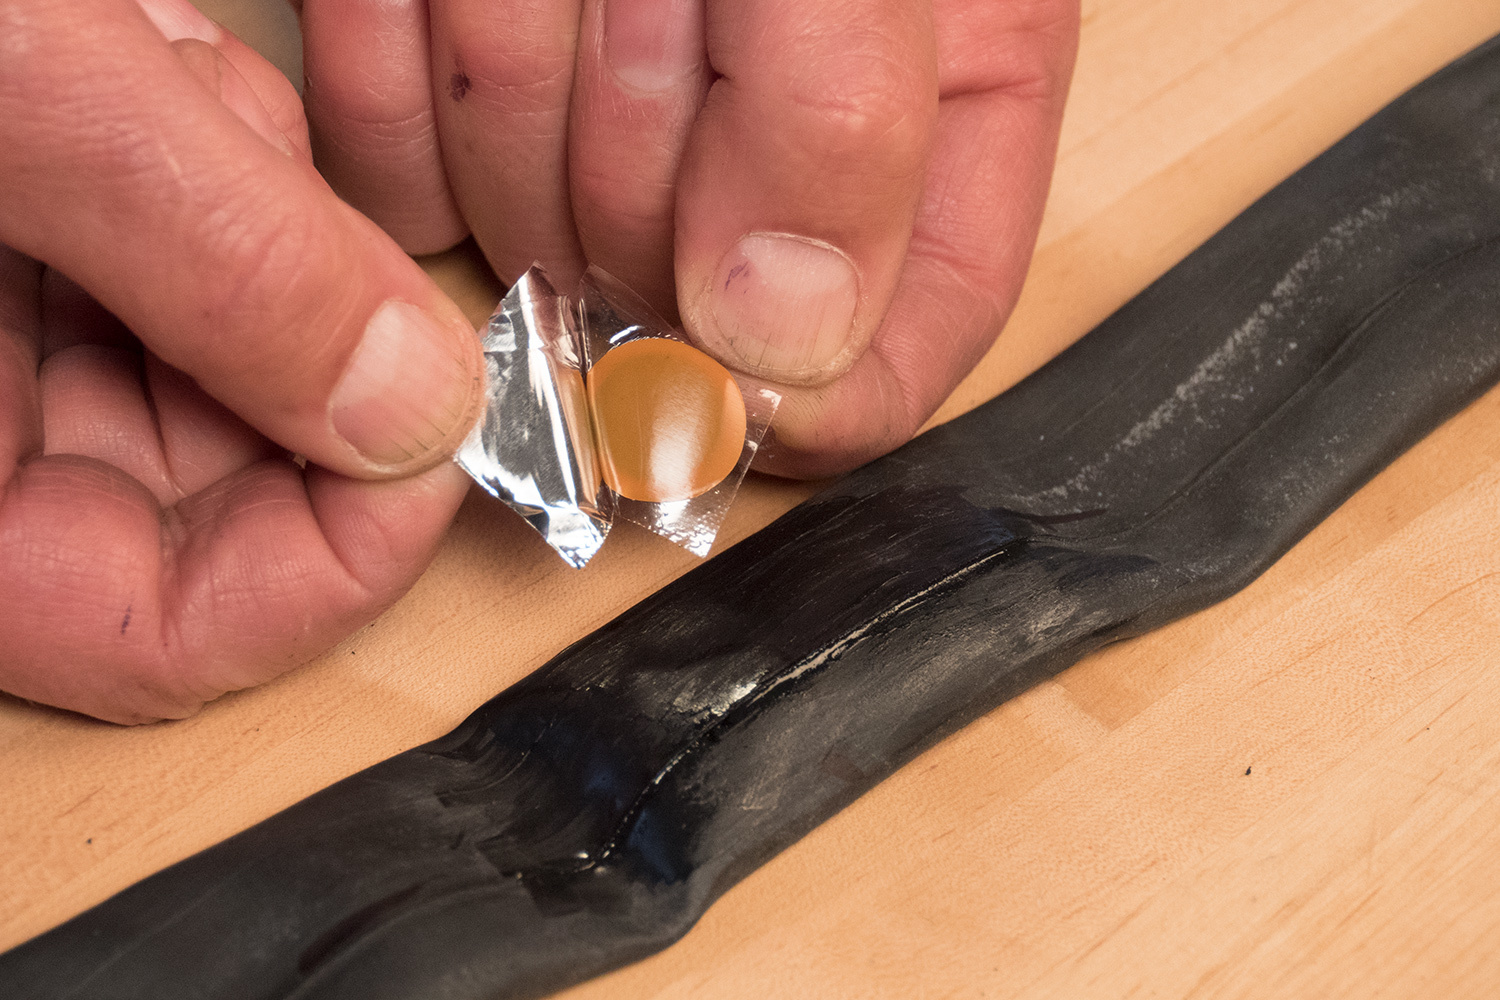
- Permit glue to dry. This may take several minutes. Examination by touching only perimeter area of mucilage, not where patch volition contact
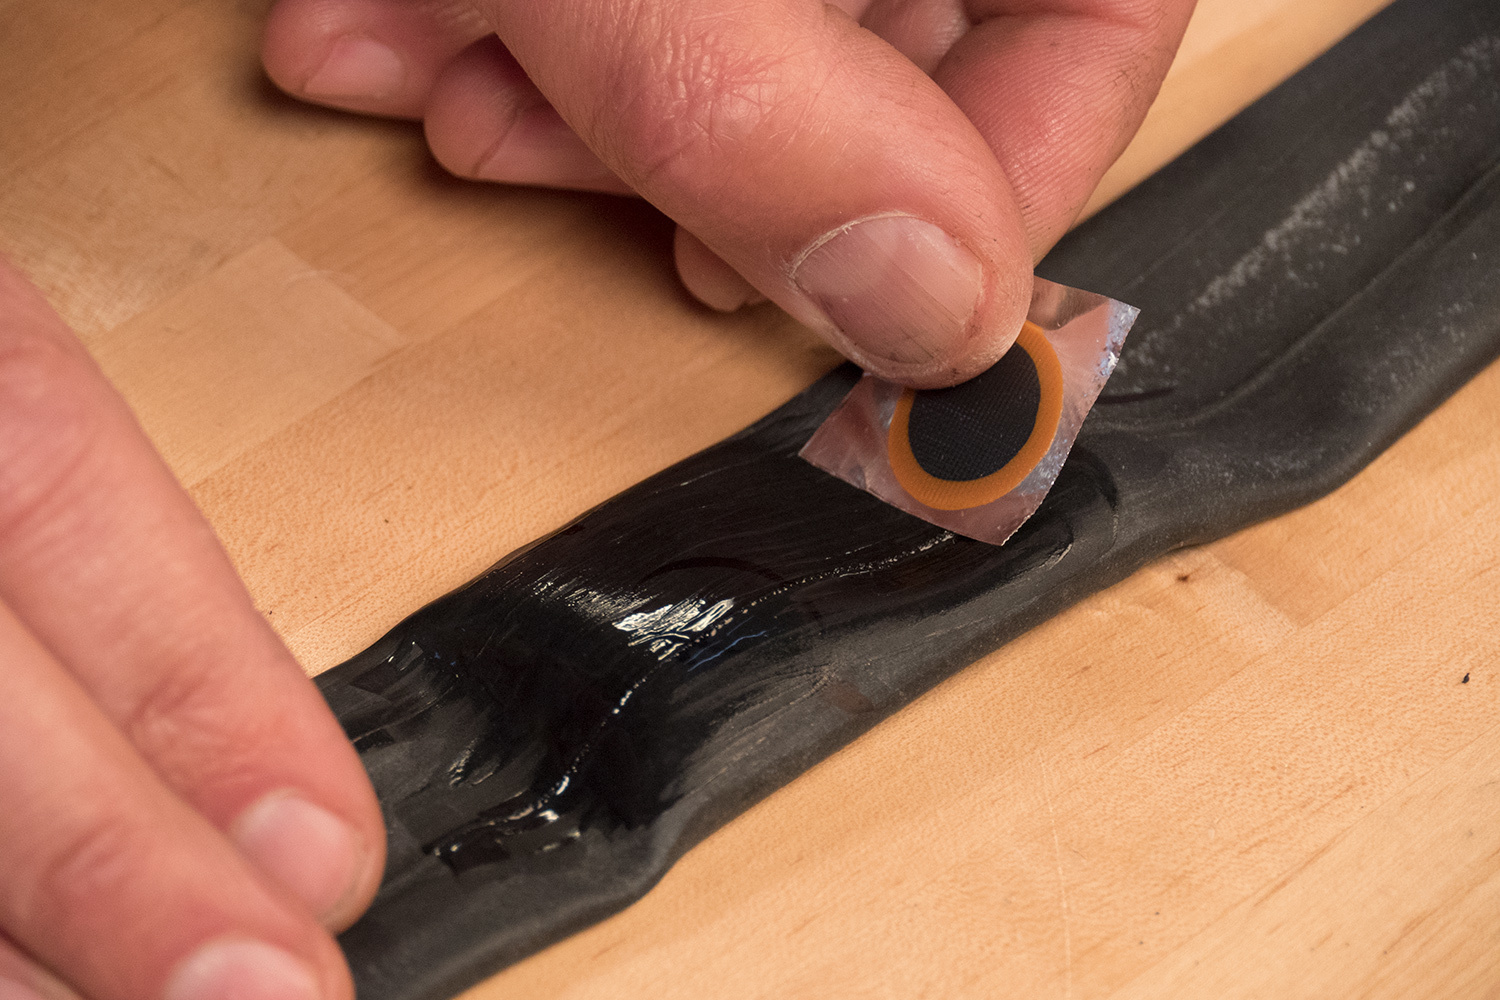
- Peel patch from patch backing. Handle patch simply past edges
- Heart patch to hole and lay patch on tube
- Employ pressure to patch, especially at edges
- If possible, maintain pressure for several minutes
- After a minute or two, audit the bond of the patch to the tube, seeing that all edges look adhered to the tube surface
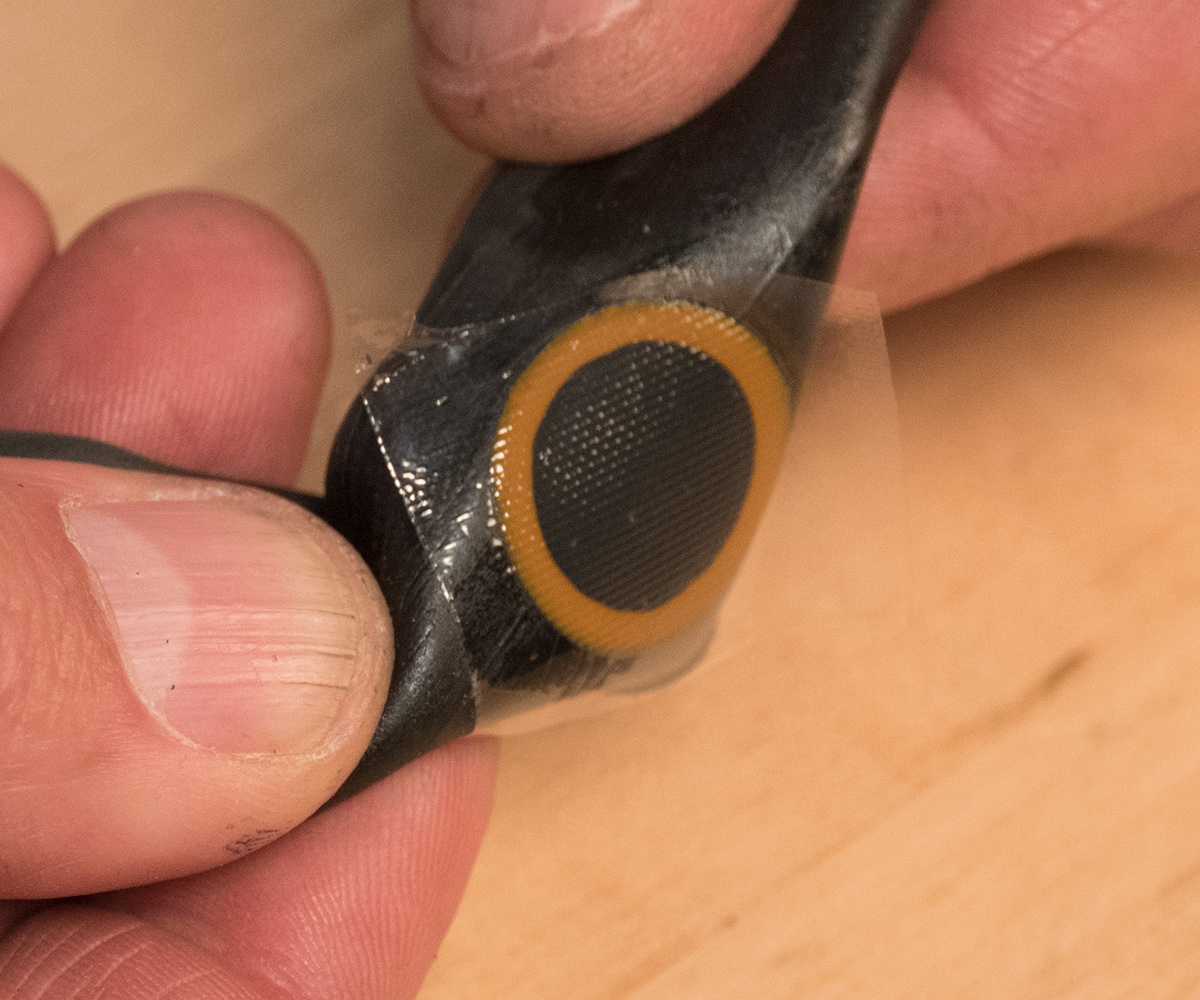
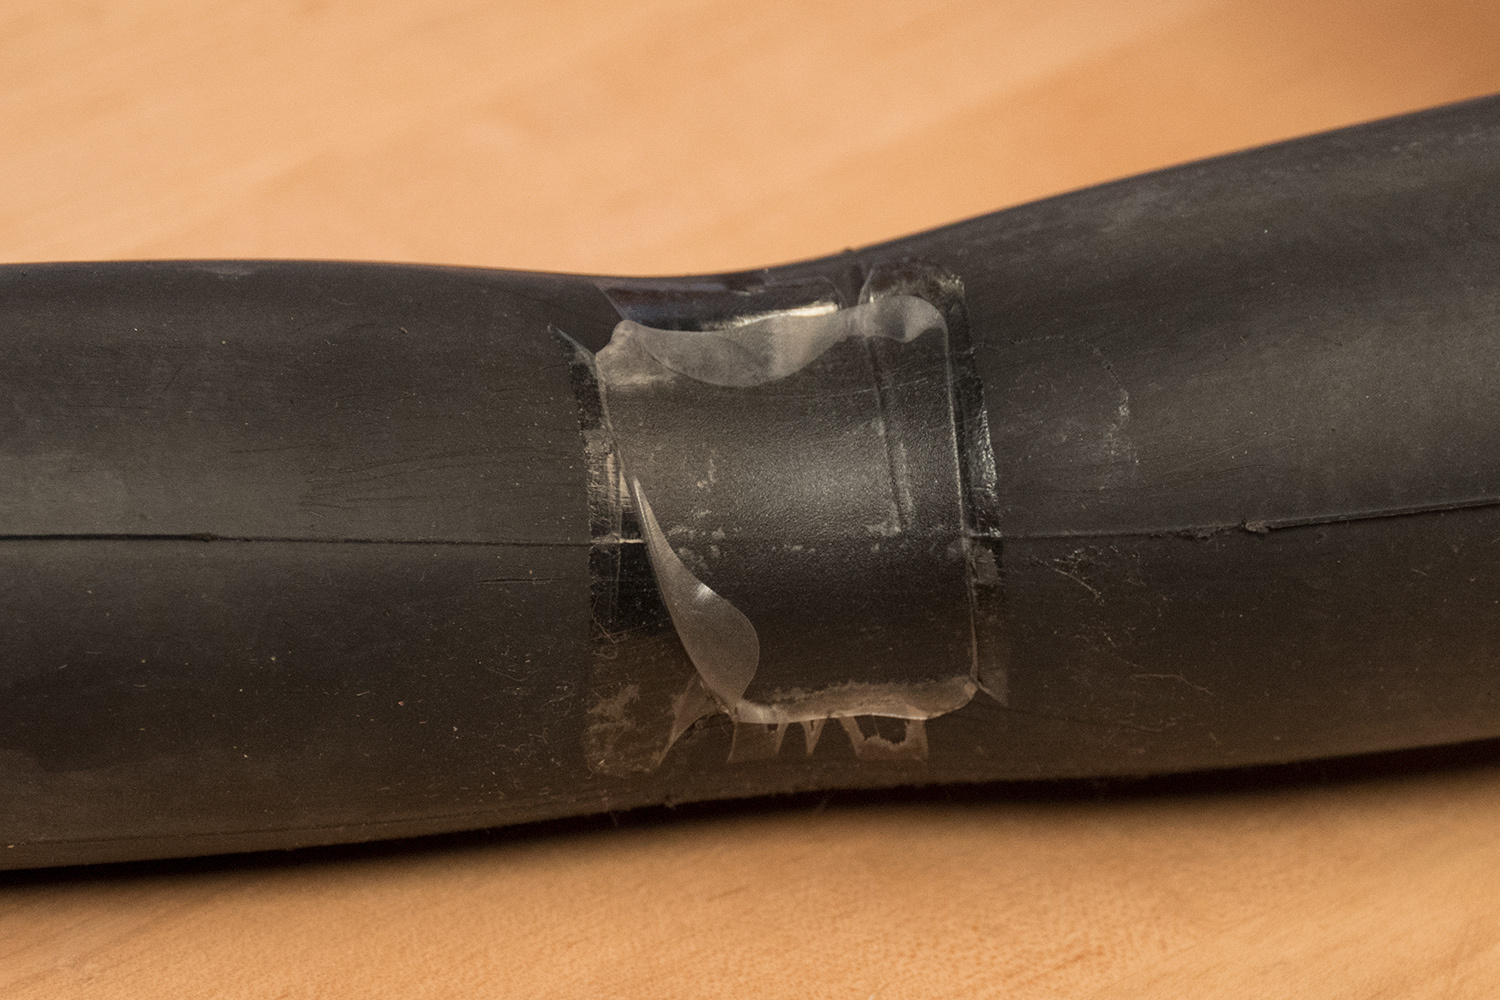
Properly bonded patch
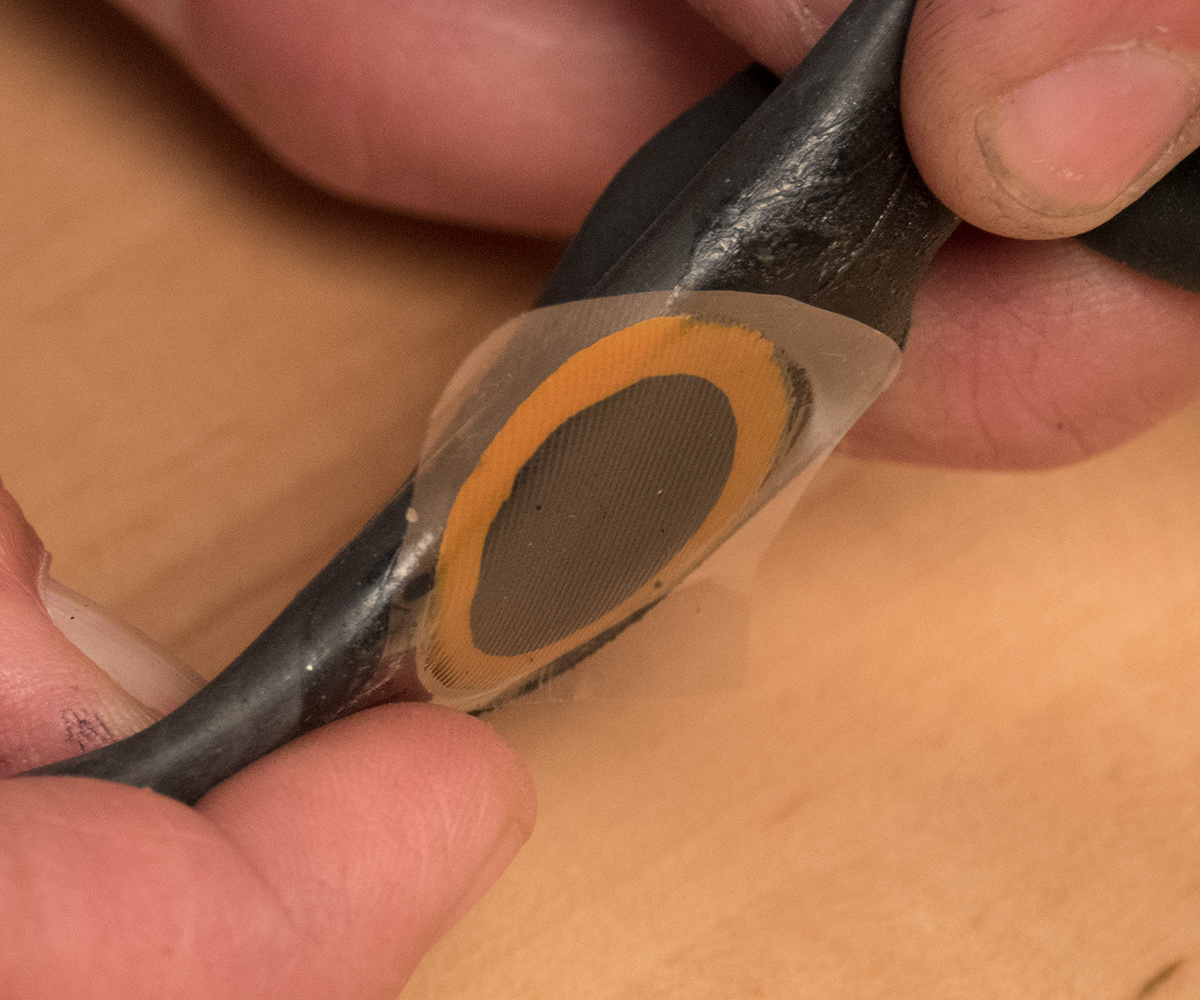
Improperly bonded patch
- Get out clear plastic encompass on patch
- Mount tube within tire and inflate
Notation: Leaving on the cellophane encompass over the patch will allow the patch to slide within the tire and reduce stress on the fresh patch. If the cellophane is removed, use a dusting of talc or baby powder over the patch.
5
Temporary Repair of Tire with TB-two Tire Boot
If the tire has been ripped and the casing damaged, it may non hold an inner tube. It is possible in some cases to make a temporary repair with a tire boot such as the TB-2. A booted tire should not exist considered a permanent repair. The tire should exist replaced as before long every bit possible.
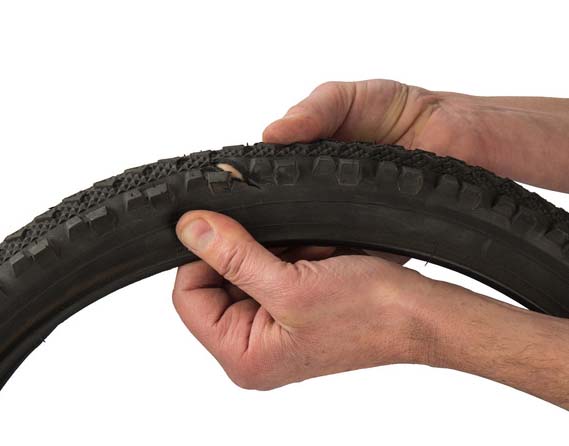
- Locate rip in tire. Compare rip to size of tire boot. Tire boot must completely overlap rip to be effective.
- Wipe clean inside of tire adjacent to rip.
- Peel off backing of boot. This is the side opposite of the logo.
- Marshal patch so edges do not extend across tire bead. If necessary, cutting boot then it does not extend by tire bead.
- Heart patch to rip and printing patch to within of casing.
Note: Ever replace ripped tires as soon as possible.

Source: https://www.parktool.com/blog/repair-help/inner-tube-repair
Posted by: piercevaggrosen.blogspot.com
0 Response to "How To Repair 18-gauge Vinyl Innertube"
Post a Comment